# Building a simple candlestick chart using Docker, FastAPI, and Vue 3 - Part 2
This is part 2 of a series that began by setting up the [FastAPI backend](https://jeffpohlmeyer.com/candlestick-docker-fastapi-vue-part-1).
Now that the backend is essentially done we need to work on the client.
We'll be using [Vite](https://vitejs.dev/) to scaffold a Vue 3 project and will be adding Tailwind CSS to the project as well.
In order to build this part you need to have [Node.js](https://nodejs.org/en/) installed on your machine.
# Project Setup
## Vite
Following up from the [previous post](https://jeffpohlmeyer.com/candlestick-docker-fastapi-vue-part-1), we'll be creating this project alongside the server, but in a slightly different directory.
For those who don't want to go to the other post, the server was set up at `/path/to/server` so we'll assume that this is going to be set up at `/path/to/client`
To set up a Vite project we'll type the following
```bash
cd /path/to/
npm init vite client
```
If you use Yarn then you likely already know how to do this part.
You will have two options within the Vite setup:
- Which framework you want to use (Vanilla, Vue, React, etc)
- Whether you want to use TypeScript or not
We will choose a Vue project and use JavaScript.
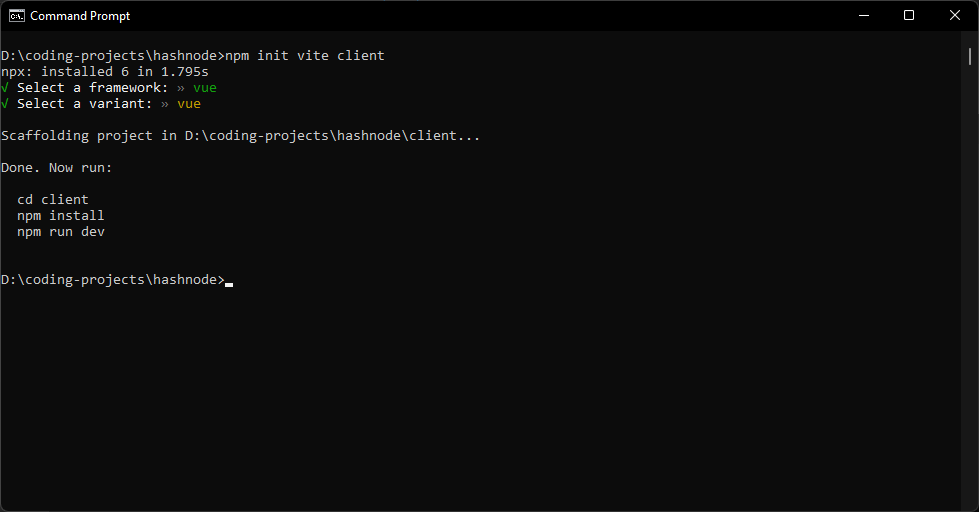
Once you've run the Vite scaffolding you'll simply run
```bash
cd client
npm install
```
to finish creation of the project.
## Tailwind
Per the [documentation](https://tailwindcss.com/docs/guides/vue-3-vite#setting-up-tailwind-css) we'll run the following commands
```bash
npm install -D tailwindcss@latest postcss@latest autoprefixer@latest
npx tailwindcss init -p
```
which will install the necessary dev dependencies and scaffold a tailwind project.
Again, per the instructions, we will modify the `tailwind.config.js` file to look in specific files to remove unused CSS in production.
```javascript
// tailwind.config.js
module.exports = {
mode: 'jit',
purge: ['./index.html', './src/**/*.{vue,js,ts,jsx,tsx}'],
darkMode: false, // or 'media' or 'class'
theme: {
extend: {},
},
variants: {
extend: {},
},
plugins: [],
}
```
You'll notice one other line that we added at the very beginning was `mode: 'jit'` which runs the Just-In-Time compiler for tailwind, which allows us to create variants on the fly, among other things.
We then need to create a base css file and place it at `src/index.css`, and inside of it we add
```css
/* ./src/index.css */
@tailwind base;
@tailwind components;
@tailwind utilities;
```
Finally we simply update `src/main.js` to include this newly created css file and have it pull in all of Tailwind's classes.
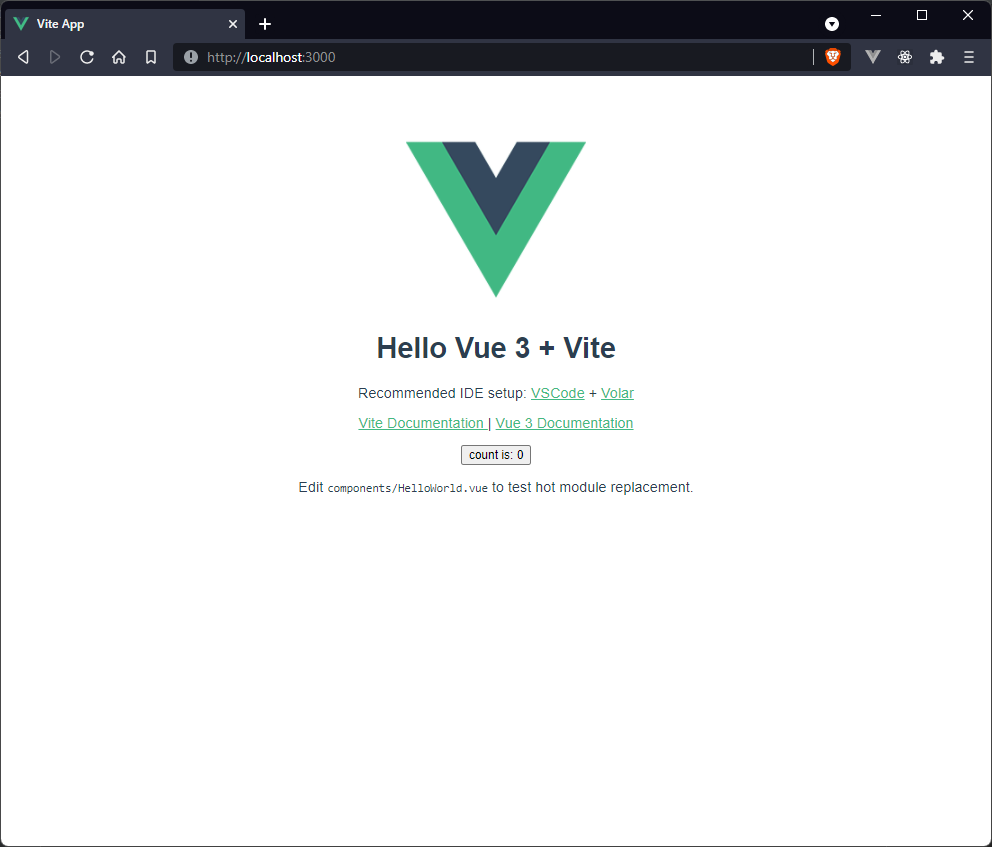
Here is the app before including Tailwind
```javascript
// src/main.js
import { createApp } from 'vue'
import App from './App.vue'
import './index.css'
createApp(App).mount('#app')
```
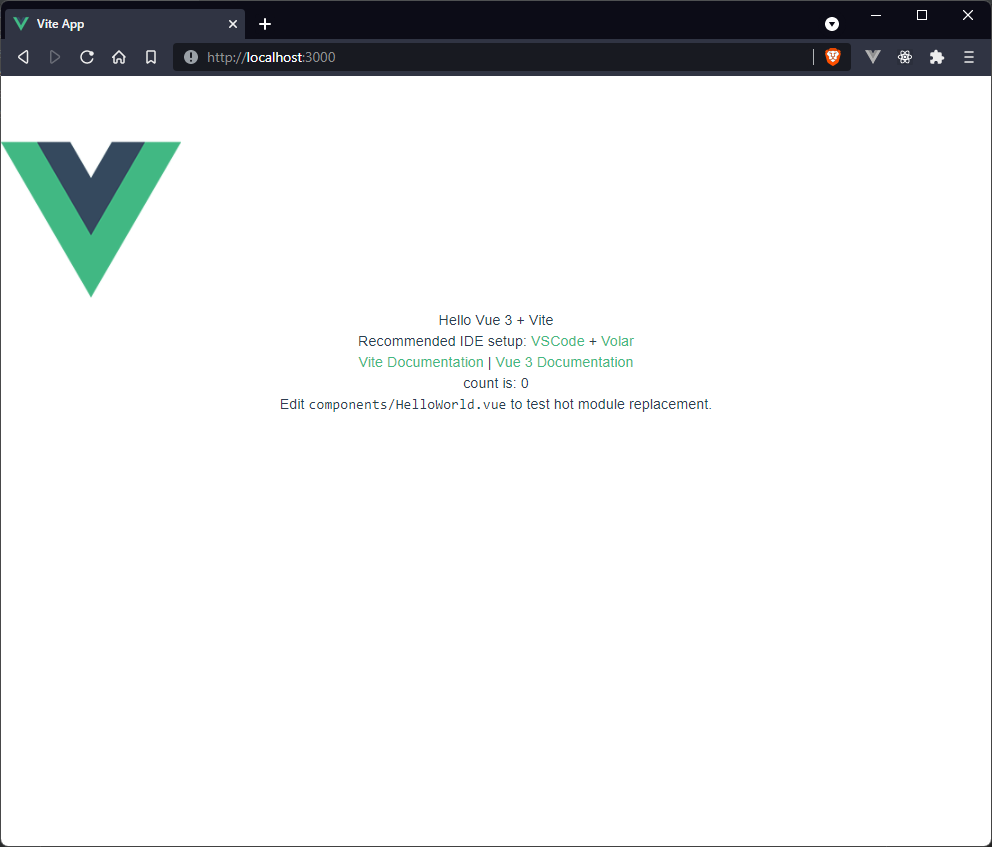
Now we can go back to the terminal, run `npm run dev` and we should see our fully scaffolded project using Tailwind styles.
## Extra dependencies
There are a few things I always like to install in client projects
- eslint
- prettier
- lint-staged
- heroicons
- headlessui
The last two are because we're using Tailwind and it's just easier to incorporate those.
In order to install these we simply run.
```bash
npm i -D eslint eslint-plugin-prettier eslint-plugin-vue prettier lint-staged @headlessui/vue @heroicons/vue
```
Then once these are installed we need to create `.eslintrc.js` and `.prettierrc.js` files at the root of the project (i.e. above the `src` directory).
```javascript
// .eslintrc.js
module.exports = {
root: true,
env: {
node: true,
},
extends: ["plugin:vue/vue3-essential", "eslint:recommended", "@vue/prettier"],
parserOptions: {
parser: "babel-eslint",
},
rules: {
"no-console": process.env.NODE_ENV === "production" ? "warn" : "off",
"no-debugger": process.env.NODE_ENV === "production" ? "warn" : "off",
},
};
// .prettierrc.js
module.exports = {
singleQuote: true,
semi: true,
htmlWhitespaceSensitivity: 'ignore'
};
```
The prettier settings are just my personal preferences, your mileage may vary.
# Project structure
The project will consist of two pieces
- The chart component that displays the data
- The selections component that receives user input for things like the ticker, interval, and start and end dates.
In the `App.vue` component we will hold the data and it will be updated from `Selections.vue` by emitting an event, and the necessary information will be passed down to `Chart.vue` as props.
## App.vue
`App.vue` will not care about the dates and will only need the symbol and interval to display in `Chart.vue` as informational pieces, so the initial setup of this main component will be
```vue
Hello world
```
The idea here is that the `series` and `volume` values will hold the actual data that was fetched from the API, and the `symbol` and `interval` values will be for display on the chart, as previously discussed.
The next step will be to create the `Selections.vue` component, which is where the user will input the ticker, interval, and dates; it will fetch data from the server; it will emit this data back up to be passed to `Chart.vue`.
## Selections.vue
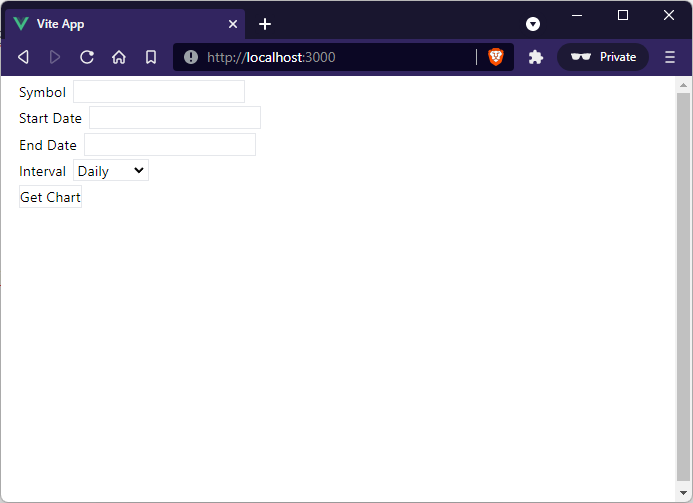
The `Selections.vue` component will have, at minimum, four inputs (one of which will be a select tag), and a submit button.
We add simple labels and inputs for basic functionality, and just a couple of Tailwind margin and border classes for better visibility.
```vue
```
We then update `App.vue` via inclusion of `Selections.vue`
```vue
```
And we see the result of this is the not-so-beautiful image below.
In the [next article](https://jeffpohlmeyer.com/candlestick-docker-fastapi-vue-part-3) we'll create custom input and select components and incorporate them into the `Selections.vue` component.