Self-hosting a font with Tailwind and SvelteKit
Updated for Tailwind v3

Search for a command to run...
Updated for Tailwind v3
No comments yet. Be the first to comment.
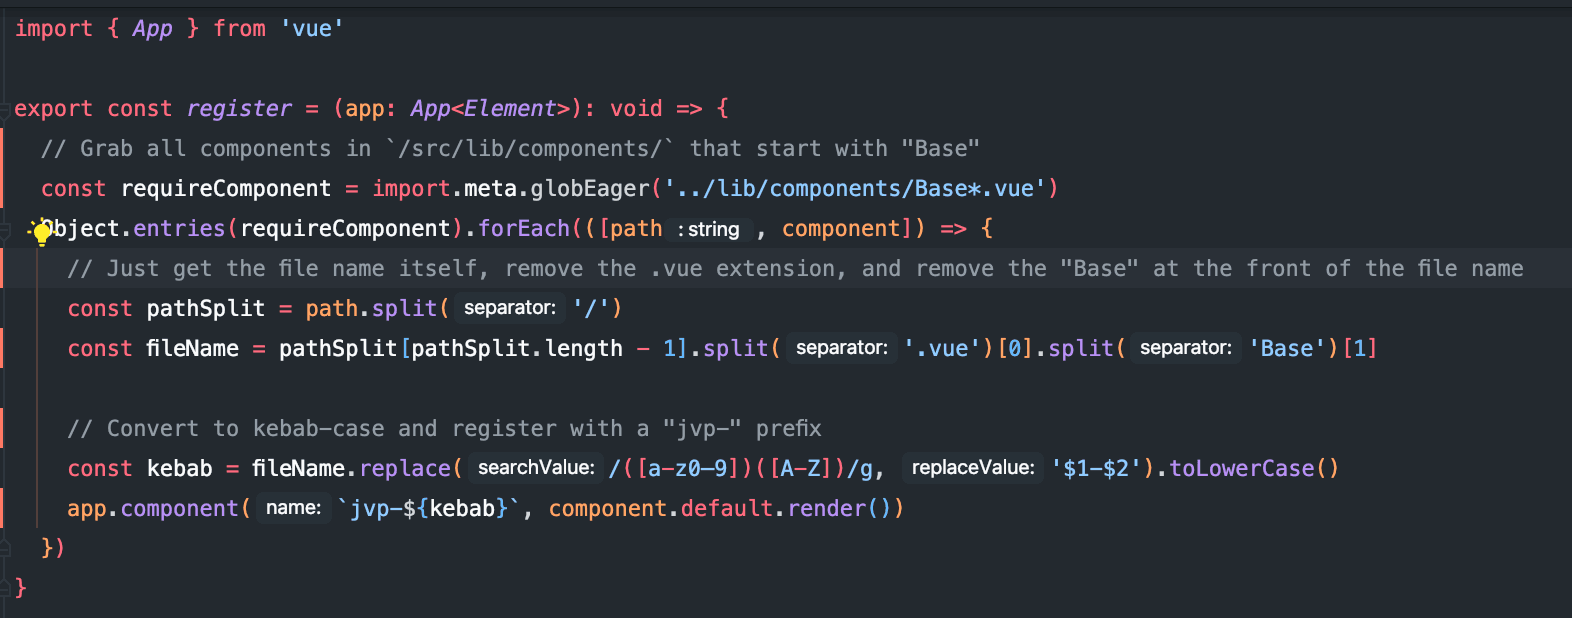
I'm working on a project in my new job and as part of the project I'm trying to register some components globally. As a company we're going to build out a component library and we want to be able to use some components without having to manually impo...
In the last blog post I built the functionality to handle form submission for the file upload itself, but we still didn't have a way to actually handle the files. In this post I'll set up the very basic markup as well as the accompanying script funct...

In the last blog post I touched on setting up a Google Drive folder to serve as the location of our uploads as well as creating the necessary endpoints for uploading and renaming the files. In this post I'll set up functions to send any necessary fil...

In the last blog post I set up a service account to authenticate for Google Drive's API, encrypted the resulting .json file, and set up functionality to decrypt said file to use for the purpose of actual authentication. In this post I will show you h...

Note: all credentials have already been destroyed so there is no need to let me know to not share credential information online. I just finished working on a project for a client/friend in which she wanted to have a page where she could have forms av...

Note: This post can also be found on my main page at https://www.jvp.design/blog/self-hosting-a-font-with-tailwind-and-sveltekit
A few months ago I wrote a post where I described how to self-host a font in SvelteKit. In that post I noted that it seemed that .ttf font files weren't being properly recognized and that you would need to convert to .woff files. Well, I don't know if I was just doing something wrong (most likely) or it was a function of Tailwind v3 being officially released or maybe an updated version of SvelteKit (both less likely), but there is an easier way to do this.
First things first, I want to thank Dan for the comment on my other post, which caused me to come back and look at it again. The method in the previous post very well may have worked but it was going to be a pain in the butt to have to always go and convert the files when .tff files are so much more widely available.
If you're using SvelteKit the reason is likely because you care about performance. I wrote a bit about the benefits of custom sites over no-code or low-code builders on my other blog (https://www.jvp.design/blog/the-importance-of-a-web-presence-in-2022) but one thing I will mention is that if you're linking to Google Fonts in your site it will slow down the page load and will hurt performance. If getting that famed 💯 on the pagespeed/lighthouse performance metric is a goal then you need to self-host. That's not to say that if you don't self-host then the performance is going to be bad, but this is a very quick and easy way to squeeze just a bit more performance out of your site.
I'm going to go in just a little more detail here than I did before. Here's what I'll do
This is the easy part. You can follow along with two very simple descriptions; the one on SvelteKit's site or the one specific to SvelteKit on Tailwind's site. I'm going to stick with the former and then go over to Tailwind for part 2.
In case you don't want to go to another site (I know, why not just stay here???), you simply need to run npm init svelte my-app and select "Skeleton project" and then choose whatever options you want. For the purposes of this project I'm not using any type checking nor am I including linting, prettier, or playwright.
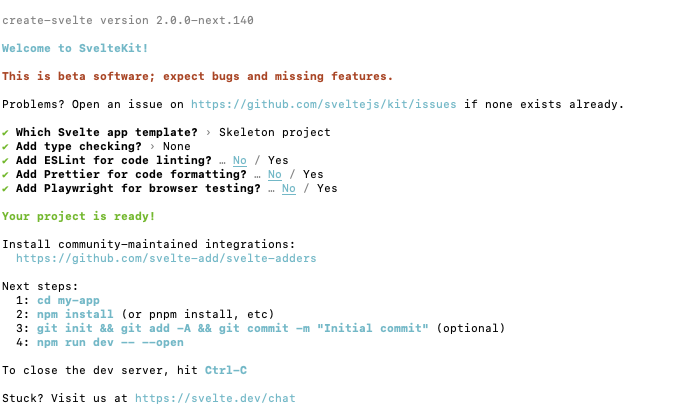 Then you type
cd my-app
npm i
npm run dev -- --open
and you should have a running SvelteKit app that looks something like this
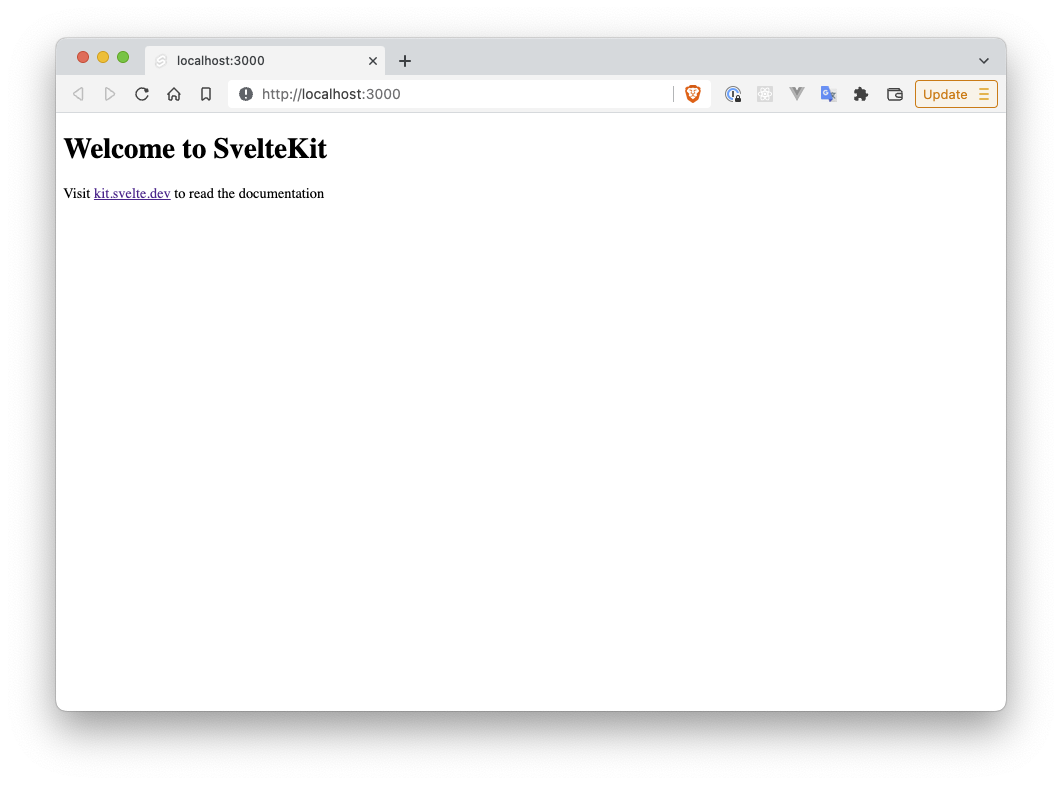
As previously mentioned, we can go to Tailwind's site and skip to part 2 of the description. If you don't want to go there and just want to follow here, this is what you do.
You'll need to install tailwind itself, as well as a couple of other dependencies.
npm i -D tailwindcss postcss autoprefixer svelte-preprocess
npx tailwindcss init tailwind.config.cjs -p
mv postcss.config.js postcss.config.cjs
svelte.config.jsThen you'll need to open the svelte.config.js file and change it from this
import adapter from '@sveltejs/adapter-auto';

/** @type {import('@sveltejs/kit').Config} */
const config = {
    kit: {
        adapter: adapter()
    }
};

export default config;
to this
import adapter from '@sveltejs/adapter-auto';
import { preprocess } from 'svelte-preprocess';

/** @type {import('@sveltejs/kit').Config} */
const config = {
    preprocess: [
        preprocess({ postcss: true })
    ],
    kit: {
        adapter: adapter()
    }
};

export default config;
tailwind.config.cjsThen open tailwind.config.cjs and add './src/**/*.{html,js,svelte,ts}' to the content field. It should look like this
module.exports = {
  content: ['./src/**/*.{html,js,svelte,ts}'],
  theme: {
    extend: {}
  },
  plugins: []
};
Next you'll want to create a file called app.css (or whatever you want to name it) and save it wherever you want. I tend to save it in ./src/styles/app.css but you can save it anywhere. Then you'll want to add the "big 3" tailwind directives to this file.
// app.css

@tailwind base;
@tailwind components;
@tailwind utilities;
app.css into your layoutFinally, create a __layout.svelte file in the ./src/routes directory and import this newly-created css file.
<script>
  import "../styles/app.css";
</script>

<slot />
remember where you saved your css file and replace what I've written as the file path with whatever you've chosen. Now your app should look like this
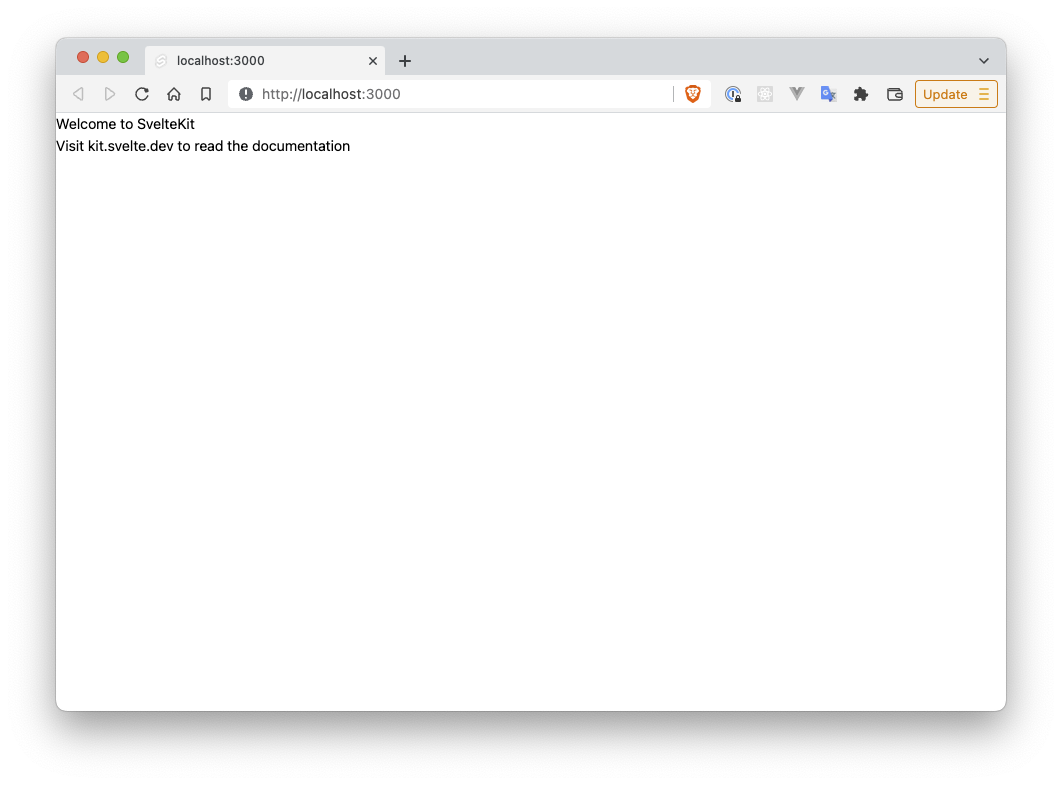 In order to make it a little more pleasing, let's open the
 ./src/routes/index.svelte file and add a bit of styling. We'll wrap both elements in a div so we can center the elements and add some basic text styling to both individual elements
<div class="h-screen grid place-content-center bg-gray-300">
    <h1 class="text-5xl text-blue-600">Welcome to SvelteKit</h1>
    <p class="text-xl text-red-500">Visit <a href="https://kit.svelte.dev">kit.svelte.dev</a> to read the documentation</p>
</div>
The app now looks like
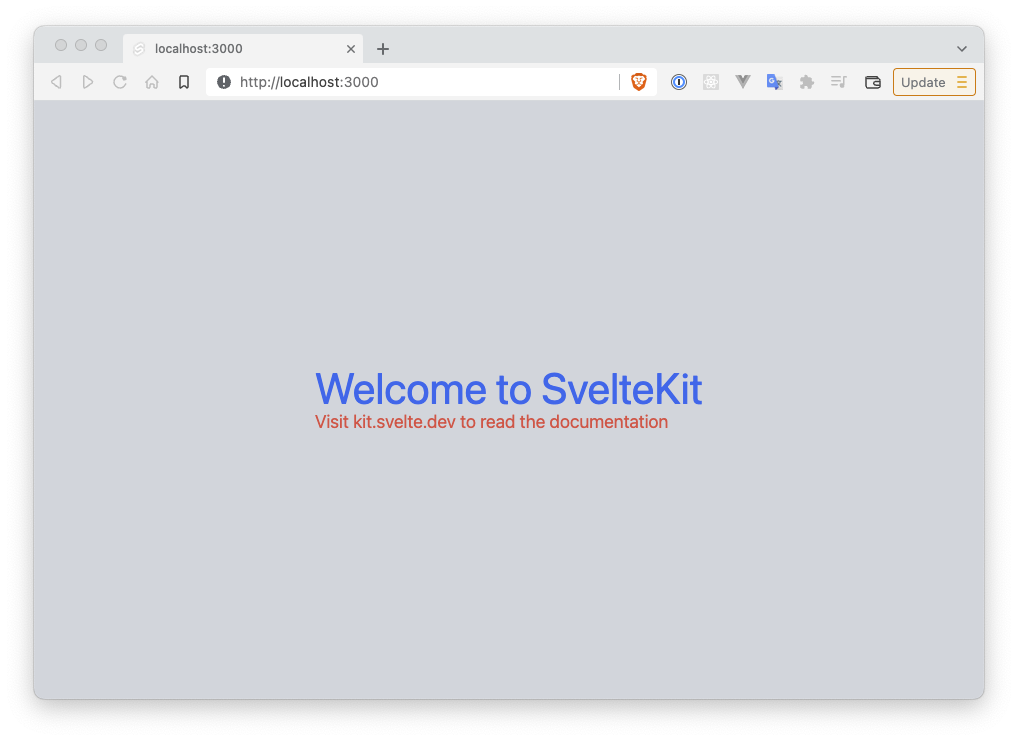 which is not great, but it's a little more visually appealing.
I'm going to try this with two separate fonts: Walkway and Lobster Two. One is a .ttf file format and the other is .otf. I've created a new folder within the top-level static folder called "fonts" and have saved both .zip files there and subsequently extracted them there.
Now the file structure should look a bit like
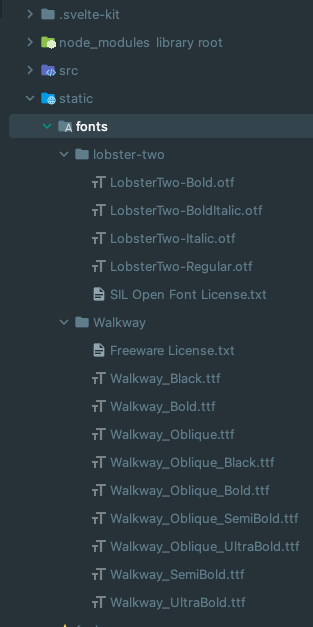
font-face in CSS fileNow that we have the font files downloaded, we need to add the font face rules for the ones we want to use. Open up ./src/styles/app.css and add the following:
@layer base {
    @font-face {
        font-family: 'Lobster Two';
        src: local('Lobster Two'), local('Lobster-Two'), local('lobster two'), local('lobster-two'),
            url('/fonts/lobster-two/LobsterTwo-Regular.otf');
        font-weight: normal;
        font-display: swap;
    }
    @font-face {
        font-family: 'Lobster Two';
        src: local('Lobster Two Bold'), local('Lobster-Two-Bold'), local('lobster two bold'),
            local('lobster-two-bold'), url('/fonts/lobster-two/LobsterTwo-Bold.otf');
        font-weight: bold;
        font-display: swap;
    }
    @font-face {
        font-family: 'Walkway';
        src: local('Walkway'), local('walkway'), url('/fonts/Walkway/Walkway_Bold.ttf');
        font-weight: normal;
        font-display: swap;
    }
    @font-face {
        font-family: 'Walkway';
        src: local('Walkway'), local('walkway'), url('/fonts/Walkway/Walkway_Black.ttf');
        font-weight: bold;
        font-display: swap;
    }
}
A few things to discuss:
@layer base is the simplest way to incorporate these. For a bit more detail visit this site: https://tailwindcss.com/docs/adding-custom-styles#using-css-and-layerbold and normal font weights, but you can add in whatever you need. For example, if you want to add a semi bold style to Walkway you can directly set the font-weight property to be whichever numeric value would work (for semibold it's 600).tailwind.config.cjsfont-<font-name> where <font-name> is whatever you're calling it. You'll see what I mean in a minute.In tailwind.config.cjs we're going to modify the extend property like so:
theme: {
  extend: {
    fontFamily: {
      walkway: ['Walkway'],
      lobster: ['Lobster Two']
    }
  }
}
The values inside the array are the values that we set in the font-family lines inside the CSS file. If, in app.css we had replaced Lobster Two with just Lobster then we would also have to change that in tailwind.config.cjs.
Now that we've downloaded, installed, and declared our fonts the only thing left to do is to use them in the app itself. Open up ./src/routes/index.svelte and use the fonts as you see fit. I've chosen to use font-walkway on the h1 and font-lobster font-bold on the p tag. The code looks like this
<div class="h-screen grid place-content-center bg-gray-300">
  <h1 class="text-5xl text-blue-600 font-walkway">Welcome to SvelteKit</h1>
  <p class="text-xl text-red-500 font-lobster font-bold">Visit <a href="https://kit.svelte.dev">kit.svelte.dev</a> to read the documentation</p>
</div>
and the resulting app looks like this
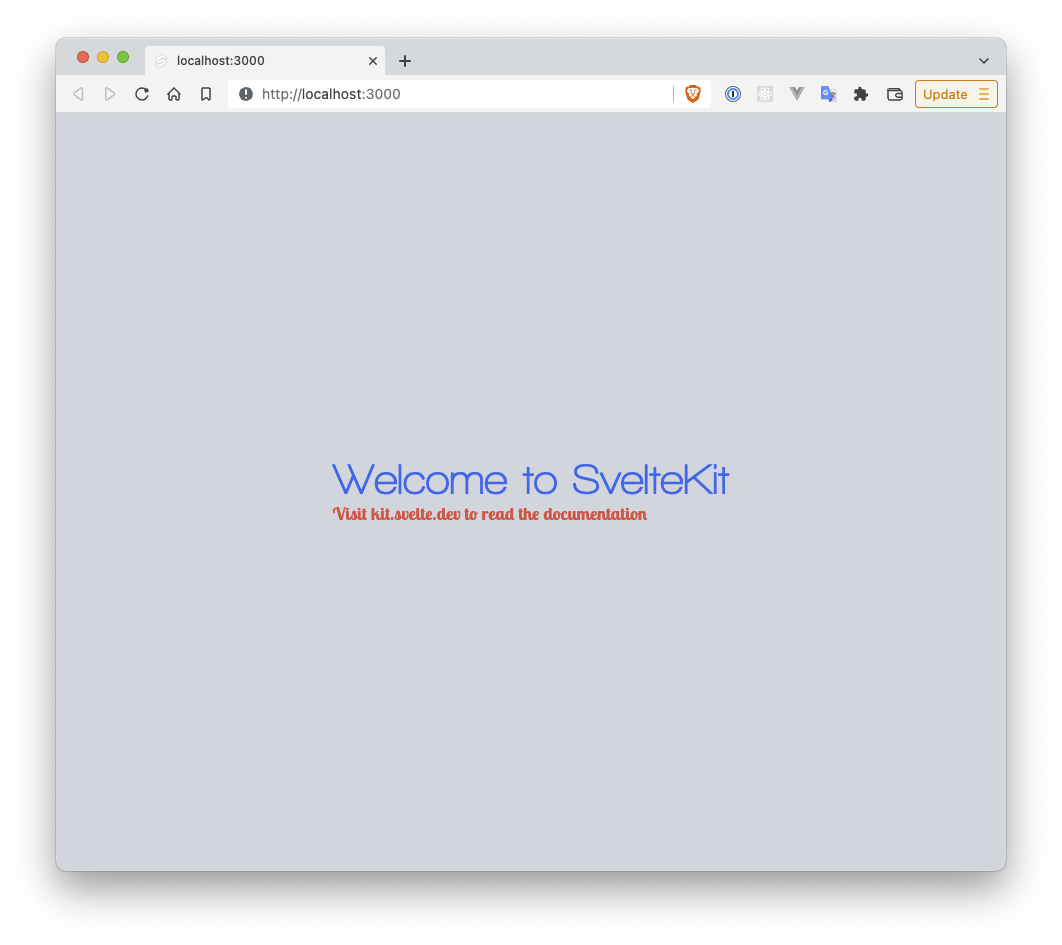
There you have it, a very simple way to include not only .ttf files but also .otf files in your SvelteKit app. This may have seemed like a somewhat long process, but once you do it once or twice you get the hang of it and, like I said, it's a quick and easy way to add a small performance boost to the site you're working on, which is likely the reason you're using SvelteKit for your app instead of something like Next or Remix.