Building a simple candlestick chart using Docker, FastAPI, and Vue 3 - Part 2
Basic setup Vue with Vite and Tailwind CSS

Search for a command to run...
Basic setup Vue with Vite and Tailwind CSS
No comments yet. Be the first to comment.
Set up a FastAPI backend to fetch stock data given a ticker, interval, and dates, create a Vue frontend to display the chart, and show how to create a Docker container for easy deployment.
Custom <JVPInput /> and <JVPSelect /> components
I'm working on a project in my new job and as part of the project I'm trying to register some components globally. As a company we're going to build out a component library and we want to be able to use some components without having to manually impo...
In the last blog post I built the functionality to handle form submission for the file upload itself, but we still didn't have a way to actually handle the files. In this post I'll set up the very basic markup as well as the accompanying script funct...

In the last blog post I touched on setting up a Google Drive folder to serve as the location of our uploads as well as creating the necessary endpoints for uploading and renaming the files. In this post I'll set up functions to send any necessary fil...

In the last blog post I set up a service account to authenticate for Google Drive's API, encrypted the resulting .json file, and set up functionality to decrypt said file to use for the purpose of actual authentication. In this post I will show you h...

Note: all credentials have already been destroyed so there is no need to let me know to not share credential information online. I just finished working on a project for a client/friend in which she wanted to have a page where she could have forms av...

This is part 2 of a series that began by setting up the FastAPI backend.
Now that the backend is essentially done we need to work on the client. We'll be using Vite to scaffold a Vue 3 project and will be adding Tailwind CSS to the project as well. In order to build this part you need to have Node.js installed on your machine.
Following up from the previous post, we'll be creating this project alongside the server, but in a slightly different directory.
For those who don't want to go to the other post, the server was set up at /path/to/server so we'll assume that this is going to be set up at /path/to/client
To set up a Vite project we'll type the following
cd /path/to/
npm init vite client
If you use Yarn then you likely already know how to do this part. You will have two options within the Vite setup:
We will choose a Vue project and use JavaScript.
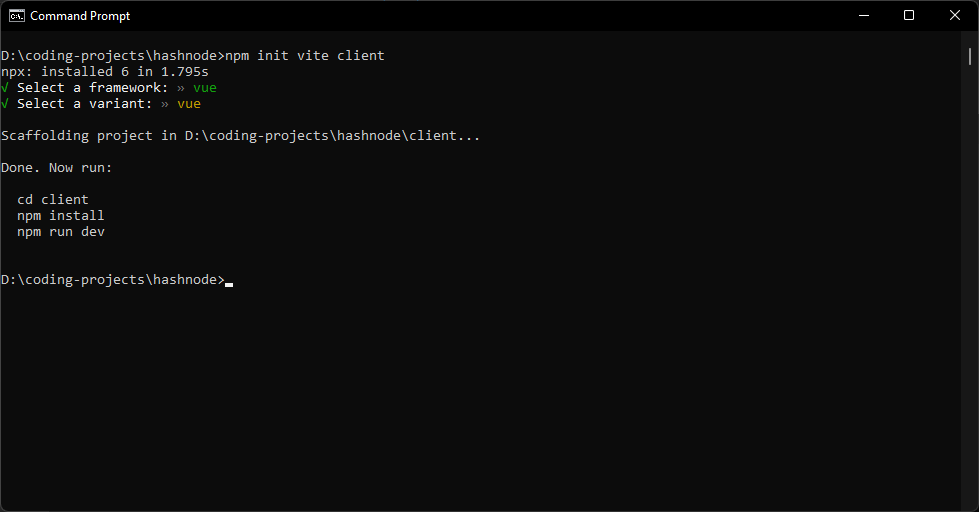 Once you've run the Vite scaffolding you'll simply run
cd client
npm install
to finish creation of the project.
Per the documentation we'll run the following commands
npm install -D tailwindcss@latest postcss@latest autoprefixer@latest
npx tailwindcss init -p
which will install the necessary dev dependencies and scaffold a tailwind project.
Again, per the instructions, we will modify the tailwind.config.js file to look in specific files to remove unused CSS in production.
// tailwind.config.js
module.exports = {
  mode: 'jit',
  purge: ['./index.html', './src/**/*.{vue,js,ts,jsx,tsx}'],
  darkMode: false, // or 'media' or 'class'
  theme: {
    extend: {},
  },
  variants: {
    extend: {},
  },
  plugins: [],
}
You'll notice one other line that we added at the very beginning was mode: 'jit' which runs the Just-In-Time compiler for tailwind, which allows us to create variants on the fly, among other things.
We then need to create a base css file and place it at src/index.css, and inside of it we add
/* ./src/index.css */
@tailwind base;
@tailwind components;
@tailwind utilities;
Finally we simply update src/main.js to include this newly created css file and have it pull in all of Tailwind's classes.
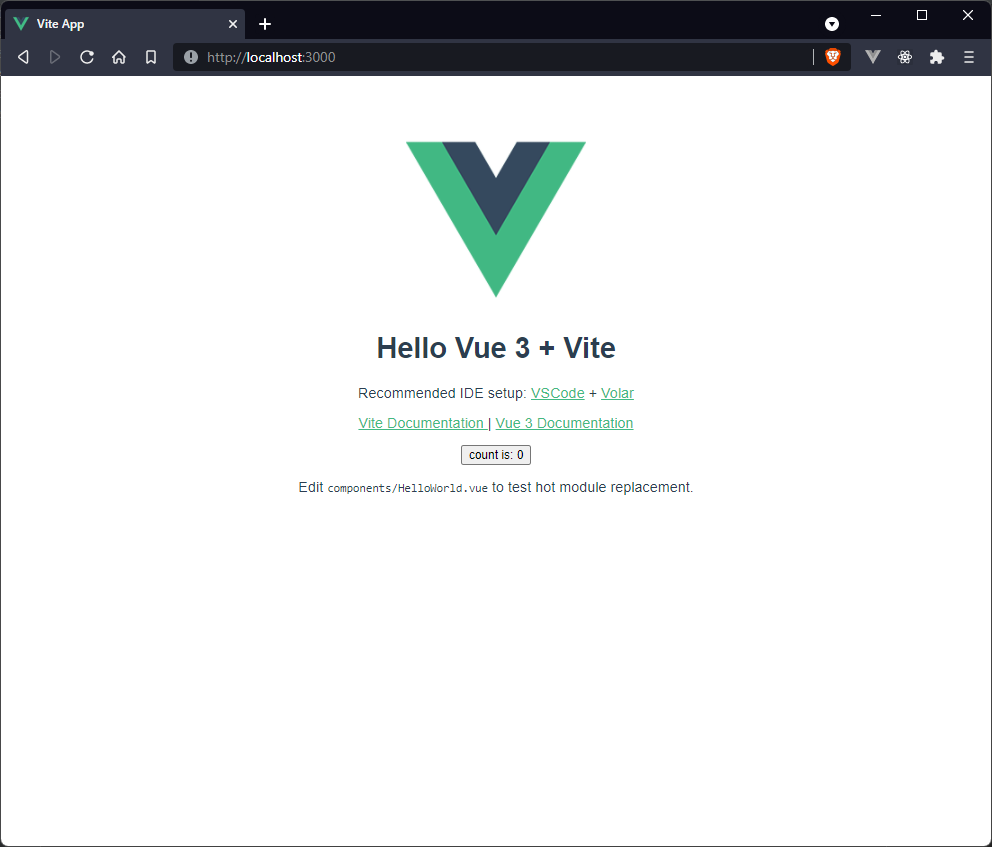
Here is the app before including Tailwind
// src/main.js
import { createApp } from 'vue'
import App from './App.vue'
import './index.css'

createApp(App).mount('#app')
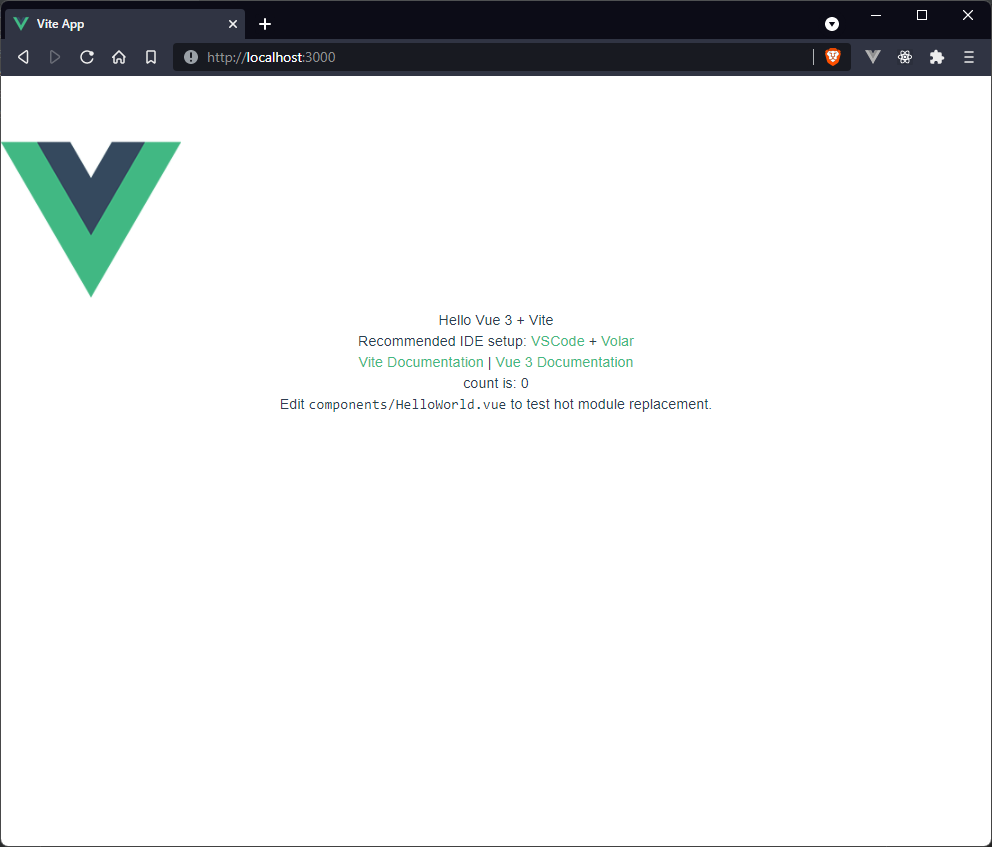
Now we can go back to the terminal, run npm run dev and we should see our fully scaffolded project using Tailwind styles.
There are a few things I always like to install in client projects
The last two are because we're using Tailwind and it's just easier to incorporate those. In order to install these we simply run.
npm i -D eslint eslint-plugin-prettier eslint-plugin-vue prettier lint-staged @headlessui/vue @heroicons/vue
Then once these are installed we need to create .eslintrc.js and .prettierrc.js files at the root of the project (i.e. above the src directory).
// .eslintrc.js
module.exports = {
  root: true,
  env: {
    node: true,
  },
  extends: ["plugin:vue/vue3-essential", "eslint:recommended", "@vue/prettier"],
  parserOptions: {
    parser: "babel-eslint",
  },
  rules: {
    "no-console": process.env.NODE_ENV === "production" ? "warn" : "off",
    "no-debugger": process.env.NODE_ENV === "production" ? "warn" : "off",
  },
};

// .prettierrc.js
module.exports = {
  singleQuote: true,
  semi: true,
  htmlWhitespaceSensitivity: 'ignore'
};
The prettier settings are just my personal preferences, your mileage may vary.
The project will consist of two pieces
In the App.vue component we will hold the data and it will be updated from Selections.vue by emitting an event, and the necessary information will be passed down to Chart.vue as props.
App.vue will not care about the dates and will only need the symbol and interval to display in Chart.vue as informational pieces, so the initial setup of this main component will be
<template>
  <div>Hello world</div>
</template>

<script>
import { defineComponent, ref } from 'vue';

export default defineComponent({
  setup() {
    const series = ref([])
    const symbol = ref('')
    const interval = ref('Daily')
    const volume = ref([])

    return { series, symbol, interval, volume }
  }
})
</script>
The idea here is that the series and volume values will hold the actual data that was fetched from the API, and the symbol and interval values will be for display on the chart, as previously discussed.
The next step will be to create the Selections.vue component, which is where the user will input the ticker, interval, and dates; it will fetch data from the server; it will emit this data back up to be passed to Chart.vue.
The Selections.vue component will have, at minimum, four inputs (one of which will be a select tag), and a submit button.
We add simple labels and inputs for basic functionality, and just a couple of Tailwind margin and border classes for better visibility.
<template>
  <form class="ml-5" @submit.prevent="handleSubmit">
    <div class="my-1">
      <label for="symbol">Symbol</label>
      <input
        v-model="state.symbol"
        id="symbol"
        name="symbol"
        type="text"
        class="mx-2 border"
      />
    </div>
    <div class="my-1">
      <label for="start-date">Start Date</label>
      <input
        v-model="state.startDate"
        id="start-date"
        name="startDate"
        type="text"
        class="mx-2 border"
      />
    </div>
    <div class="my-1">
      <label for="end-date">End Date</label>
      <input
        v-model="state.endDate"
        id="end-date"
        name="endDate"
        type="text"
        class="mx-2 border"
      />
    </div>
    <div class="my-1">
      <label for="interval">Interval</label>
      <select v-model="state.interval" id="interval" class="mx-2 border">
        <option v-for="choice in intervals" :key="choice" :name="choice">
          {{ choice }}
        </option>
      </select>
    </div>
    <button type="submit" class="border">Get Chart</button>
  </form>
</template>

<script>
import { defineComponent, reactive } from 'vue';

export default defineComponent({
  setup() {
    const intervals = ['Daily', 'Weekly', 'Monthly'];

    const state = reactive({
      symbol: '',
      interval: 'Daily',
      startDate: '',
      endDate: '',
    });

    const handleSubmit = () => {
      console.log('triggered handleSubmit');
    };

    return {
      intervals,
      state,
      handleSubmit,
    };
  },
});
</script>
We then update App.vue via inclusion of Selections.vue
<template>
  <div class="h-screen">
    <Selections />
  </div>
</template>

<script>
import { defineComponent, ref } from 'vue';
import Selections from './components/Selections.vue'

export default defineComponent({
  components: { Selections },
  setup() {
    const series = ref([])
    const symbol = ref('')
    const interval = ref('Daily')
    const volume = ref([])

    return { series, symbol, interval, volume }
  }
})
</script>
And we see the result of this is the not-so-beautiful image below.
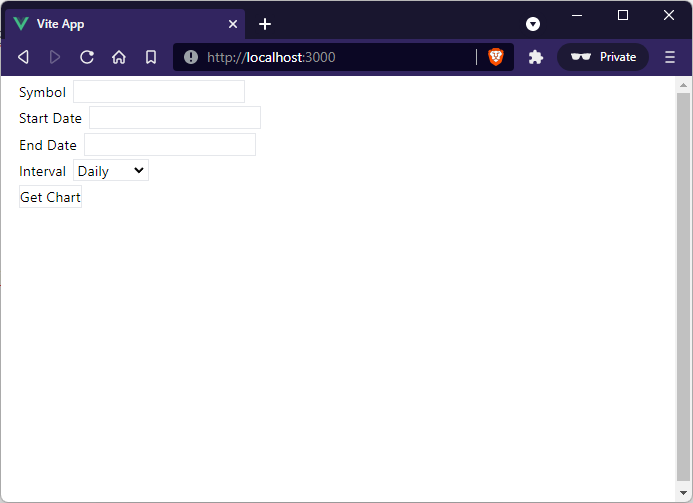 In the next article we'll create custom input and select components and incorporate them into the
 Selections.vue component.